
This post may contain affiliate links. Please see our disclosure policy.

Why You’ll Love This Sauce
If you grew up loving hibachi dinners, you know this sauce is really the whole point. One of my favorite things about making it at home is that you get that exact restaurant flavor without any mystery ingredients. The mayo keeps it rich and creamy, ketchup gives it that signature blush color and slight sweetness, and mirin adds a subtle tang that rounds everything out.
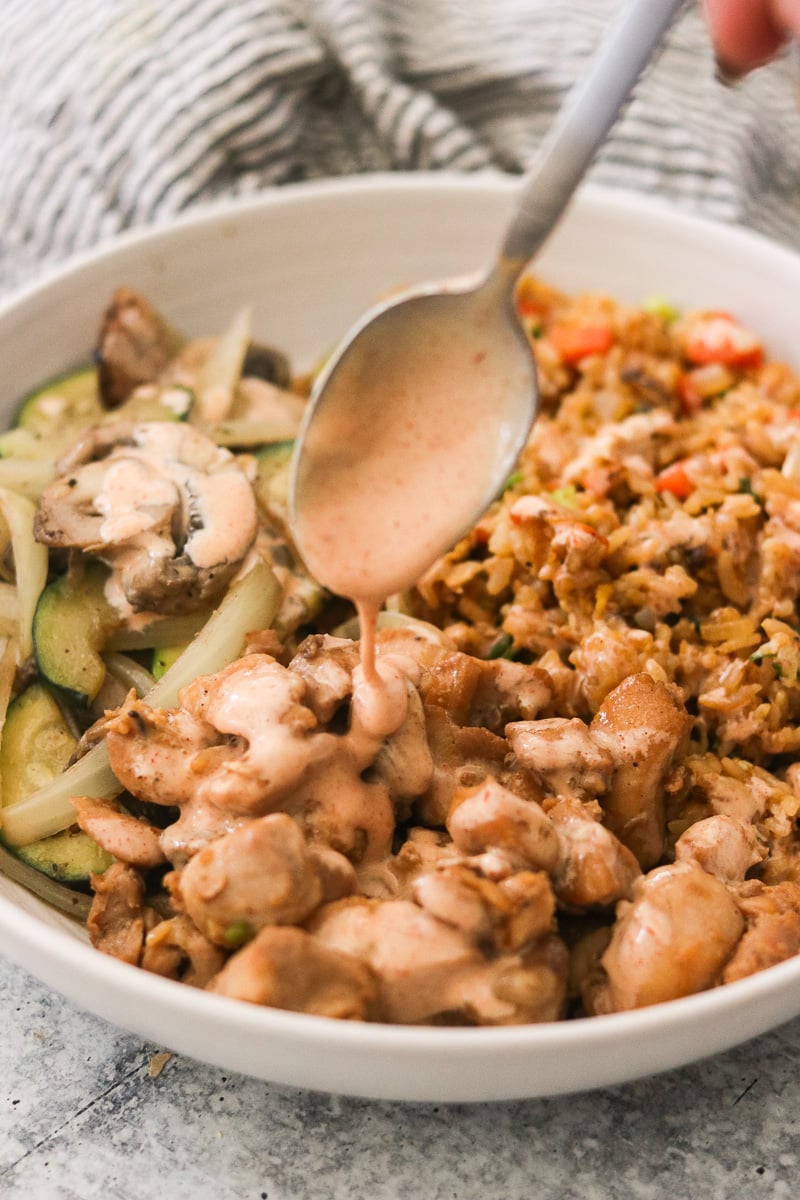
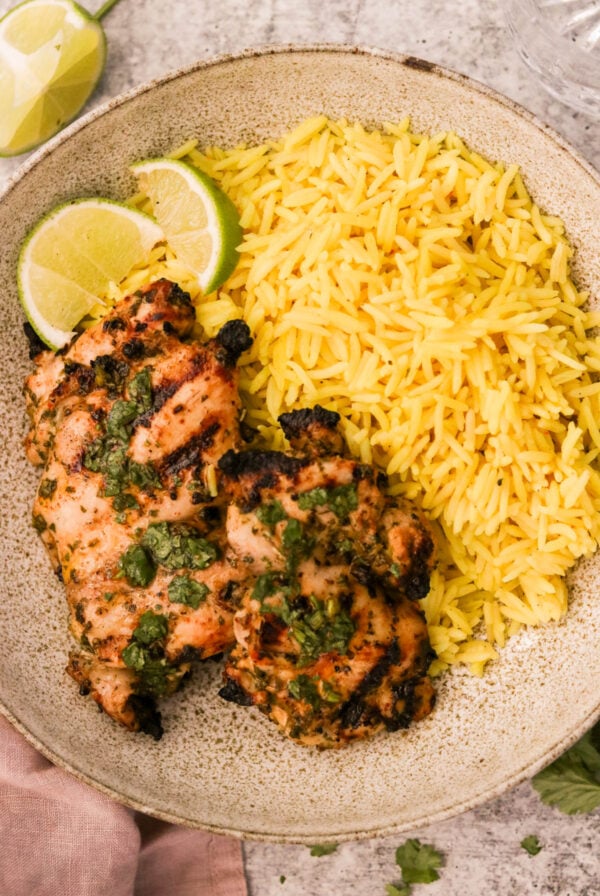
This version is also easy to adjust depending on how you want to use it. Keep it a little thicker for dipping crispy chicken or vegetables, or thin it out with a bit of water for drizzling over rice bowls and grilled meat (like these Japanese chicken skewers).
Ingredients You’ll Need

- Kewpie mayo: This Japanese mayonnaise has a richer flavor and smoother texture than regular mayo, which makes the sauce taste closer to the restaurant version. I keep a bottle in my fridge at all times. It shows up in so many of my Asian-inspired recipes and it really does make a difference here.
- Ketchup: Adds sweetness, color, and the familiar flavor most people expect from hibachi yum yum sauce.
- Granulated sugar: Balances the tang from the mayo and vinegar and helps create that slightly sweet sauce.
- Mirin: A sweet rice wine that adds mild sweetness and subtle acidity. It rounds out the flavor more than plain vinegar.
- Paprika: Mostly for color, with a very light warmth in the background.
- Garlic powder: Adds a savory note that gives the sauce more depth.
- Water: Used to loosen the sauce until it reaches the consistency you prefer.
Recipe Substitutions
- If you do not have Kewpie mayo, regular mayonnaise works just fine. The flavor will still be creamy and balanced, though Kewpie gives it a slightly richer taste.
- Mirin adds sweetness and acidity in one ingredient. If you do not have it, rice vinegar works as a substitute. The sauce will taste a little brighter but still very good. Don’t stress about tracking down every ingredient. This sauce is forgiving and comes together well either way.
- You can also adjust the texture depending on how you plan to use the sauce. Leave it thicker for dipping or add a bit more water if you want a smooth drizzle over bowls, grilled chicken, or vegetables.
How to Make Yum Yum Sauce
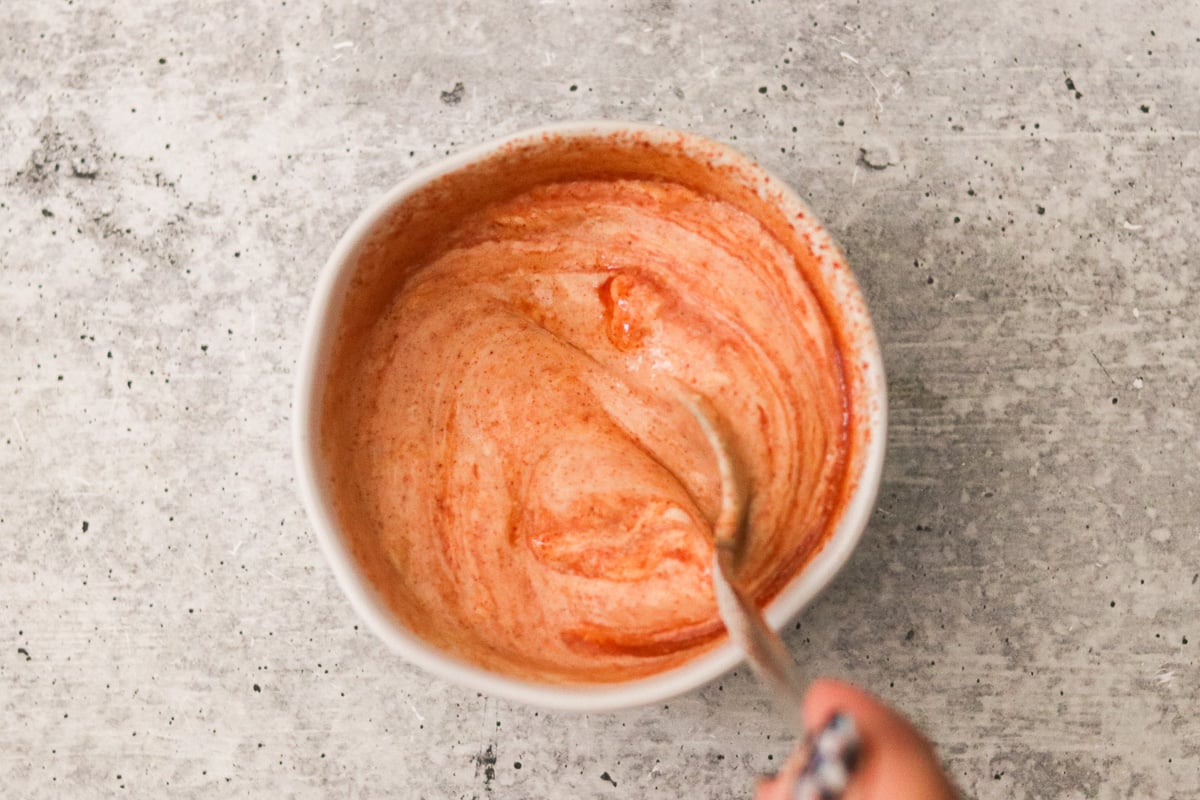
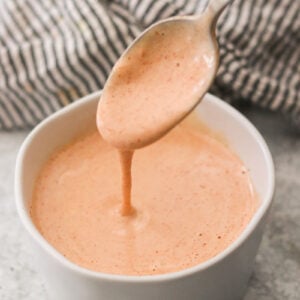
Step 1: Combine mayo, ketchup, sugar, mirin, paprika, and garlic powder in a bowl and stir together. Mix until the sauce is smooth and evenly pink with no streaks remaining.
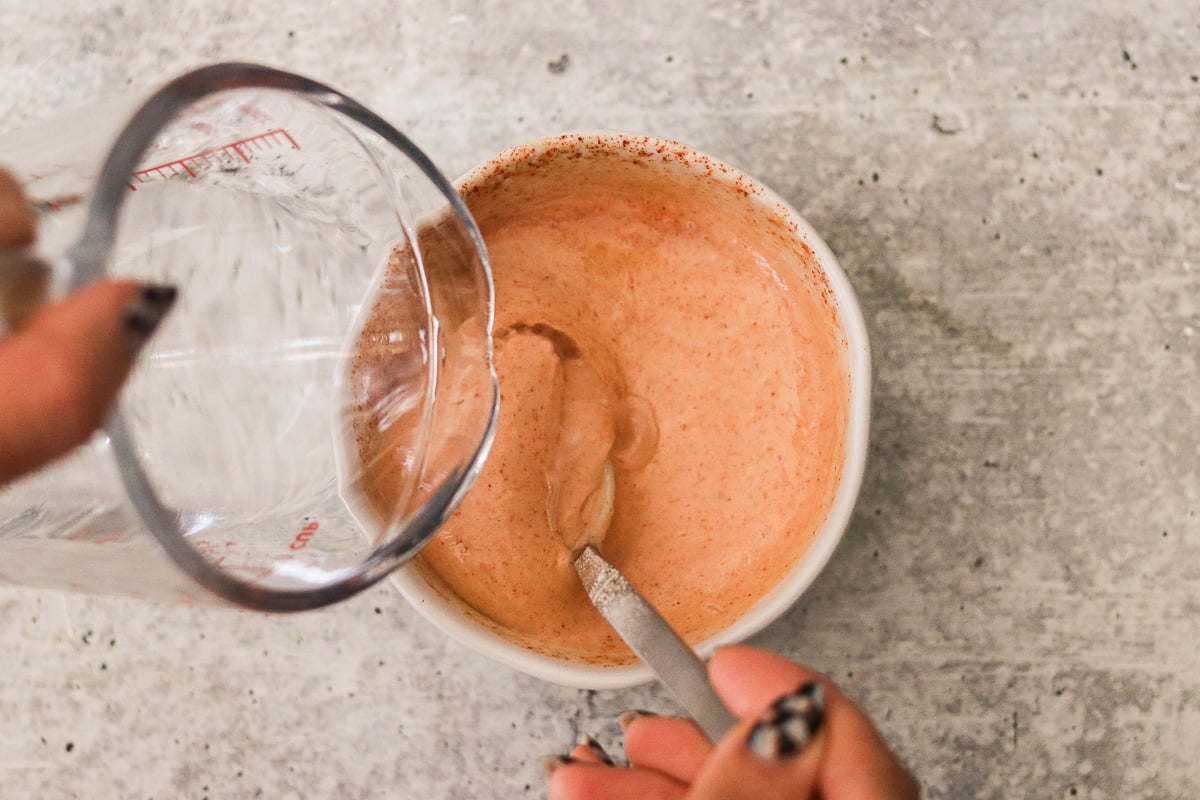
Step 2: Drizzle a little bit of water at a time and stir to thin it out, if needed. Start with a very small amount and keep mixing until the sauce loosens to your preferred consistency. The sauce is ready to use right away, though letting it chill in the fridge for about 30 minutes helps the flavors come together even more. Fair warning: I always end up taste-testing it straight off the spoon before it makes it to the table.
Expert Tips
- Use Kewpie mayonnaise if you can find it. The flavor is slightly richer and gives the sauce a texture that feels closer to what you get at a hibachi restaurant. I made it with regular mayo for years before trying Kewpie and honestly could not believe the difference (now I won’t go back).
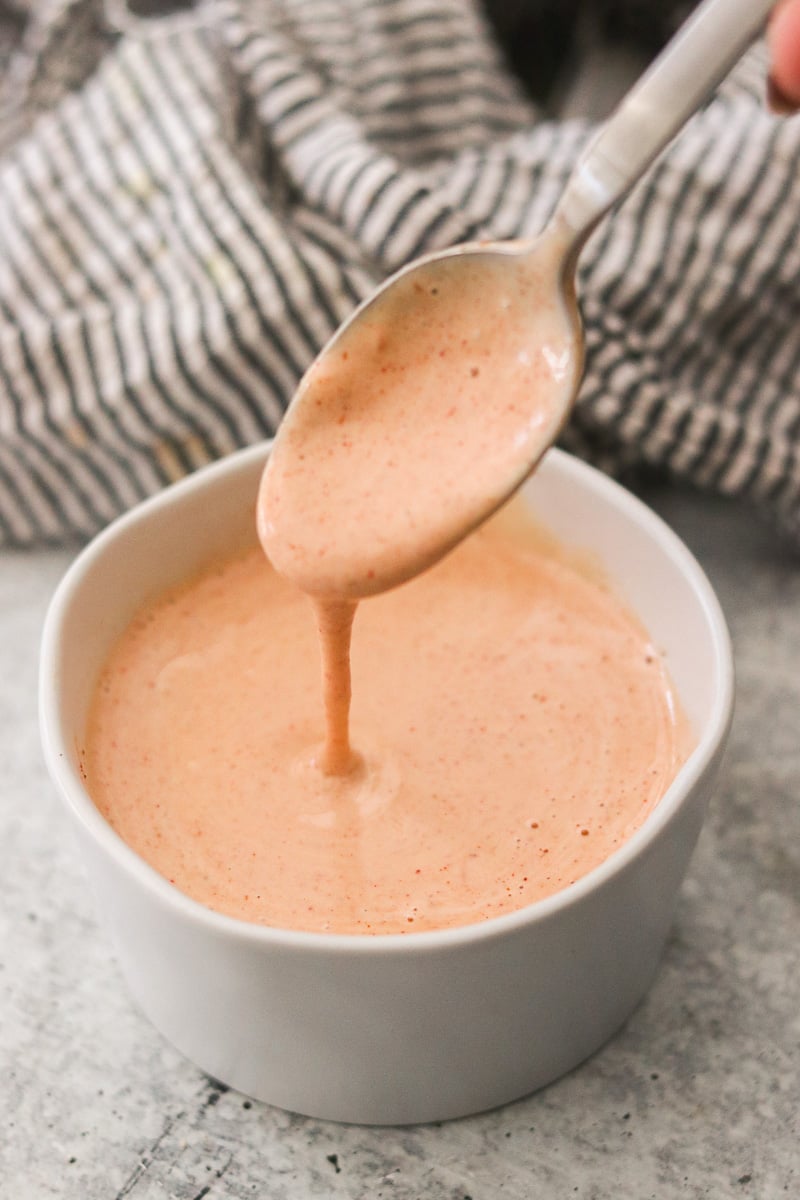
- Add the water gradually. Yum yum sauce should be smooth and creamy, not runny. If you are planning to drizzle it over bowls, aim for a consistency that slowly falls from a spoon.
- Letting the sauce sit in the fridge for an hour can help the flavors blend together more evenly, though it is still very good right after mixing.
- This sauce pairs especially well with Japanese-inspired dishes like air fryer tonkatsu or crispy air fryer karaage.
Storage and Make-Ahead Tips
- Store the sauce in an airtight container in the refrigerator for up to a week. I have kept it a little longer without an issue, but about a week is a good guideline.
- If the sauce thickens in the fridge, stir in a tiny splash of water before serving to loosen it back up.
Recipe FAQs
Yum yum sauce is a creamy Japanese steakhouse condiment made with mayonnaise, ketchup, and a few simple seasonings. From there, ingredients like sugar, mirin or vinegar, and seasonings create the creamy, tangy flavor that is served at Japanese steakhouse restaurants.
Despite the name, yum yum sauce is not traditionally Japanese. It is most closely associated with Japanese-style hibachi or teppanyaki restaurants in the United States, where it is served with grilled meats, fried rice, seafood, and vegetables.
It is creamy, slightly sweet, tangy, and savory. Honestly it is the kind of sauce you put on everything once you make a batch. It works as a dipping sauce, a drizzle over rice bowls, or spooned straight over grilled chicken or vegetables.
Yes. It keeps well in the fridge, and the flavor often improves after it sits for a little while.
More Homemade Sauces
If you enjoy making simple sauces at home, here are a few more favorites:

30 Minutes or Less
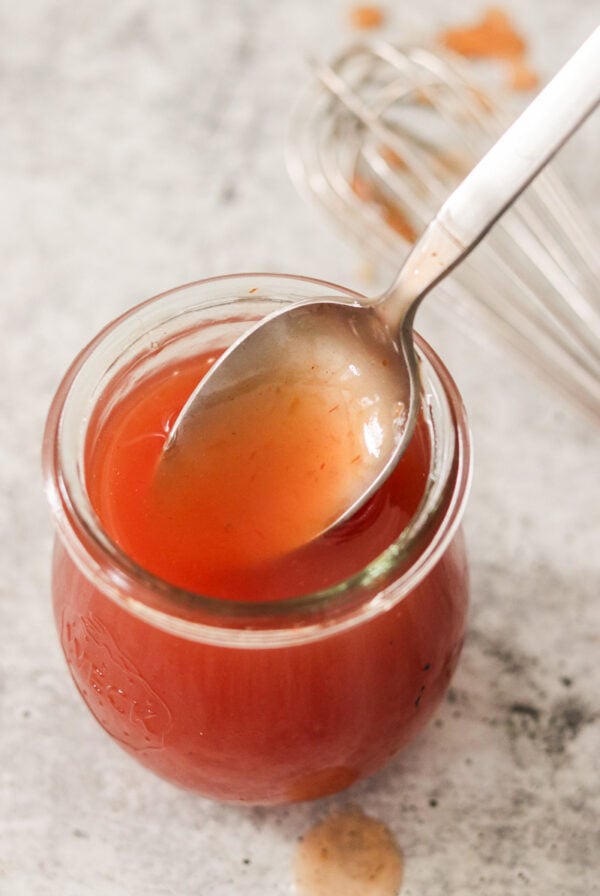
Paleo Coconut Shrimp with Sriracha Mayo Dipping Sauce (Whole30)

30 Minutes or Less
Creamy Chimichurri Sauce (Paleo & Vegan)
Sauces & Condiments
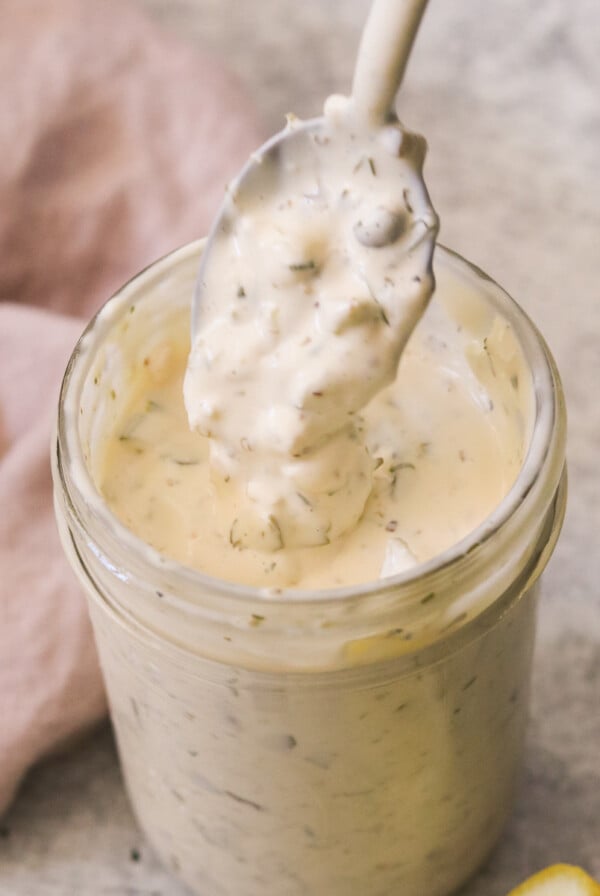
Easy Tartar Sauce (Better Than Store-Bought!)
Homemade Yum Yum Sauce (Easy Hibachi Copycat)
Ingredients
- 1 cup Kewpie mayo, or regular mayo
- 2 tbsp ketchup
- 1 tbsp granulated sugar
- 1 tbsp mirin, or rice vinegar
- 1 tsp paprika
- 1 tsp garlic powder
- Water, as needed
Instructions
- Combine mayo, ketchup, sugar, mirin, paprika, and garlic powder in a bowl and stir together.1 cup Kewpie mayo, 2 tbsp ketchup, 1 tbsp granulated sugar, 1 tbsp mirin, 1 tsp paprika, 1 tsp garlic powder
- Drizzle a little bit of water at a time and stir to thin it out, if needed. Enjoy!Water
Notes
- Use Kewpie mayonnaise if you can find it. The flavor is slightly richer and gives the sauce a texture that feels closer to what you get at a hibachi restaurant. I made it with regular mayo for years before trying Kewpie and honestly could not believe the difference (now I won’t go back).
- Add the water gradually. Yum yum sauce should be smooth and creamy, not runny. If you are planning to drizzle it over bowls, aim for a consistency that slowly falls from a spoon.
- Letting the sauce sit in the fridge for an hour can help the flavors blend together more evenly, though it is still very good right after mixing.
- This sauce pairs especially well with Japanese-inspired dishes like air fryer tonkatsu or crispy air fryer karaage.
- Store the sauce in an airtight container in the refrigerator for up to a week. I have kept it a little longer without an issue, but about a week is a good guideline.
- If the sauce thickens in the fridge, stir in a tiny splash of water before serving to loosen it back up.
Nutrition
Nutrition information is automatically calculated, so should only be used as an approximation.
So good