This post may contain affiliate links. Please see our disclosure policy.

Why You’ll Love Homemade Sweet and Sour Sauce
If you’ve ever wanted an easy way to recreate restaurant-style meals at home, this sweet and sour sauce is one of those reliable, back-pocket recipes that make weeknight dinners feel effortless. It’s fast, predictable, and made entirely from ingredients you already trust (no artificial colors or mystery additives hiding in a bottle), and the flavor is exactly right.
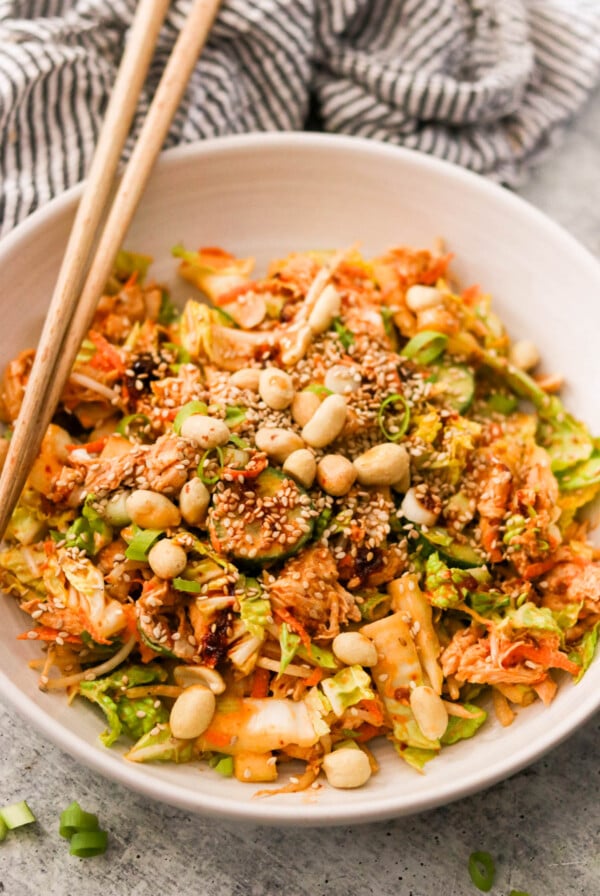
This sweet and sour sauce isn’t overly sweet or sharply acidic, but instead has that familiar balance that makes it so versatile. I use it constantly as a dipping sauce for my gluten-free crab rangoon, warm it up to serve with pork buns or Korean dumplings, or drizzle it over chicken tenders, which my kids absolutely love! It works just as well for dipping as it does for spooning and drizzling, which makes it an easy win for meals your kids will actually be excited about.
Ingredients You’ll Need
This easy sweet and sour sauce relies on a short list of pantry staples, each playing an important role in the final flavor and texture.
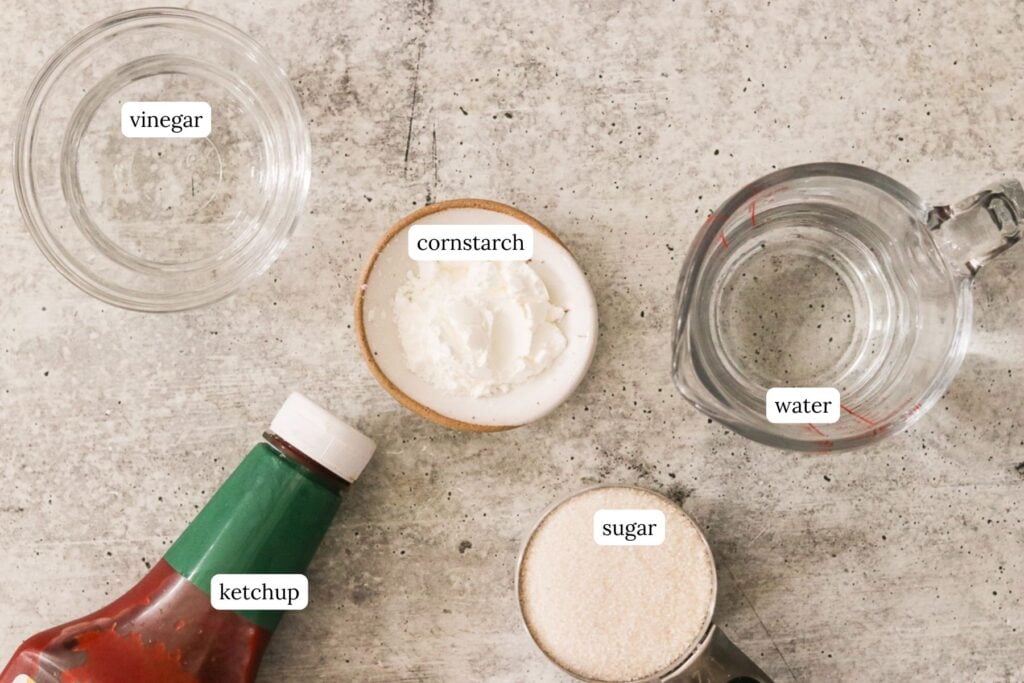
- Water: Helps thin the sauce and allows everything to simmer smoothly.
- Sugar: Provides sweetness and balances the vinegar’s acidity.
- Vinegar: Adds the signature tangy bite that defines sweet and sour sauce.
- Ketchup: Brings color, mild sweetness, and umami depth that mimics classic restaurant-style sauce.
- Cornstarch + water: Thickens the sauce once heated, giving it that glossy, spoon-coating consistency.
How to Make Sweet and Sour Sauce
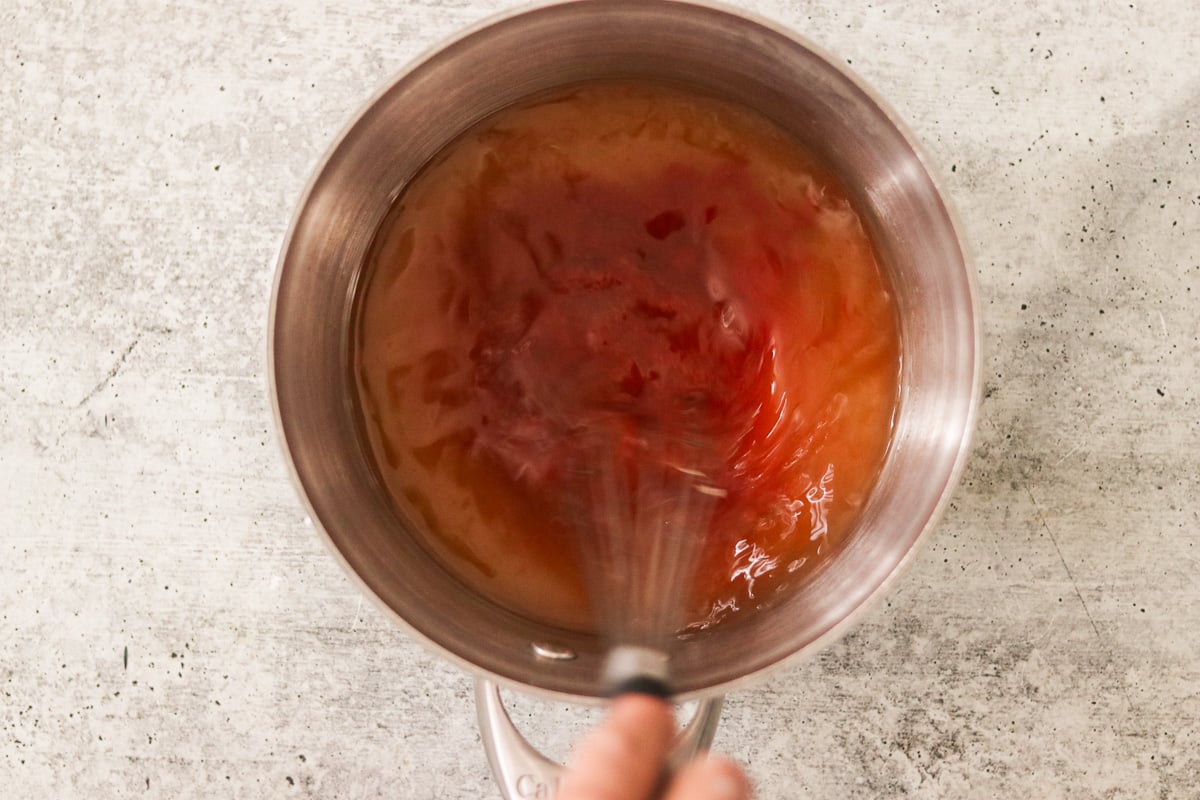
Step 1: Add the water, sugar, vinegar, and ketchup to a small saucepan and heat over medium heat. Whisk until the sugar is fully dissolved and the mixture is smooth.
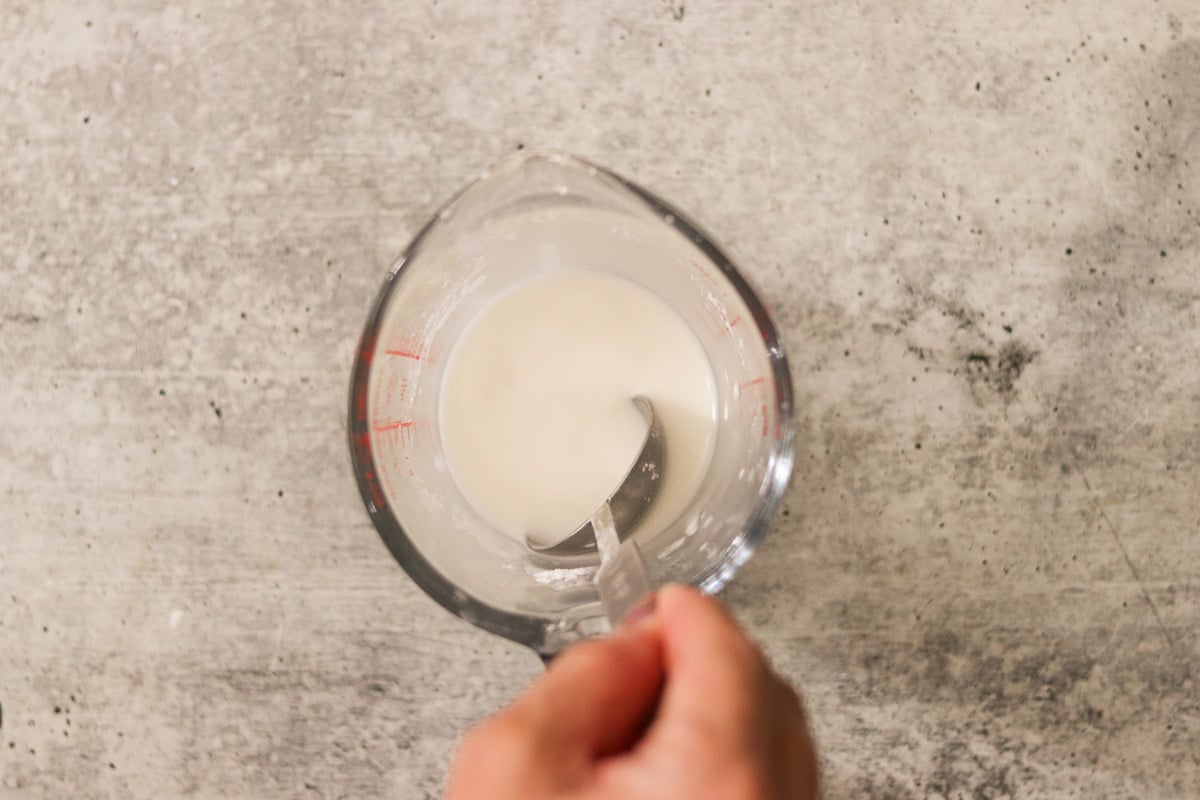
Step 2: In a small bowl, whisk together the cornstarch and water until completely smooth.

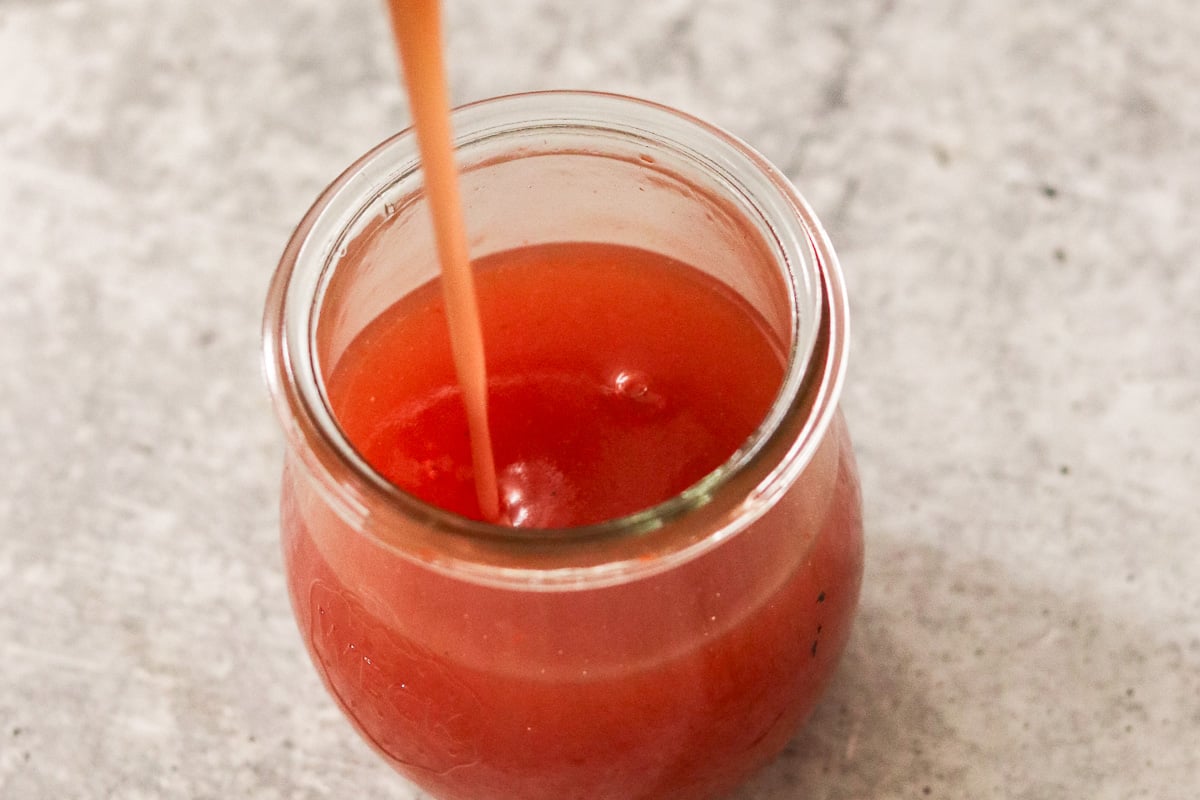
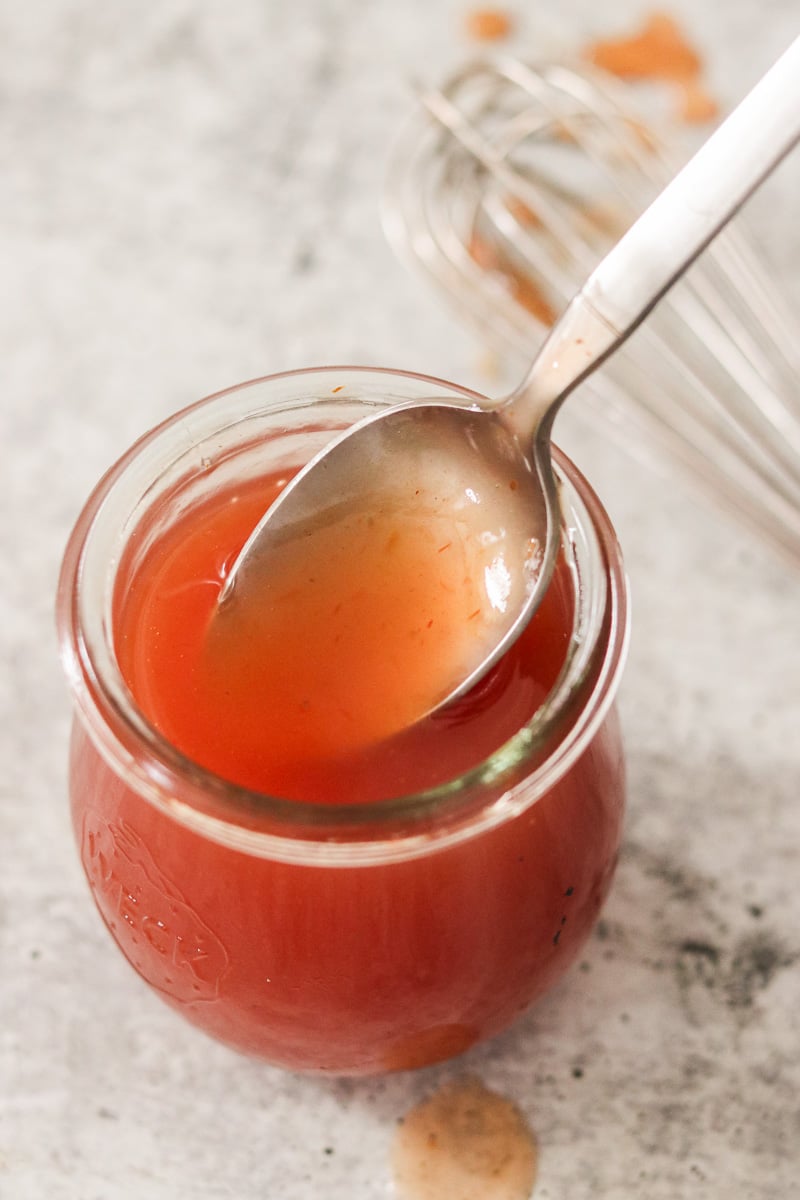
Step 3: Once the sauce begins to boil, slowly pour in the cornstarch slurry while whisking continuously. Keep whisking until the sauce thickens to your liking and looks glossy.
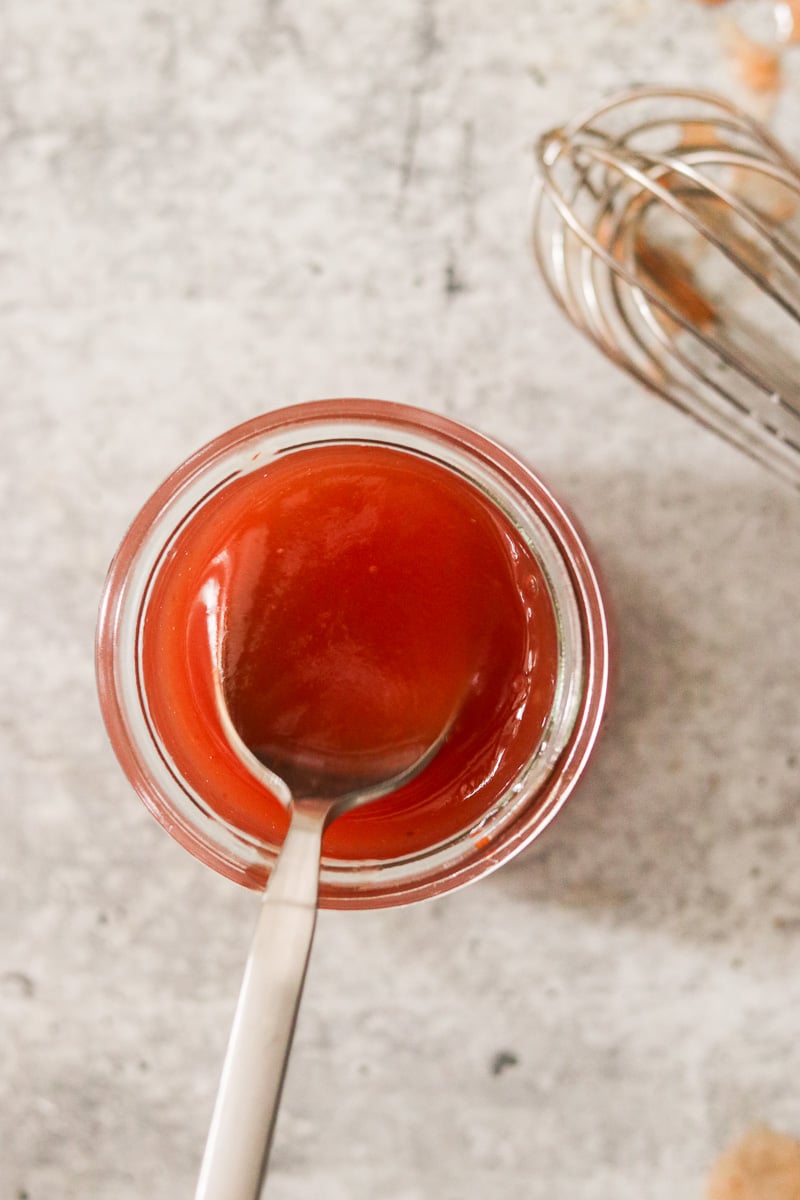
Step 4: Remove from the heat and serve immediately, or let cool slightly before using.
Tips for Perfect Sweet and Sour Sauce
- This sweet and sour sauce is incredibly versatile and works well beyond just one dish. Use it as a dipping sauce for appetizers, brush it over proteins like chicken or pork as a glaze, toss it into a quick stir fry, or use it as a simple marinade. It also pairs beautifully with savory dishes like kimchi pancakes, adding a touch of sweetness to balance the heat and umami.
- For easy customization, you can adjust the flavor to suit your meal. Add a pinch of red pepper flakes or chili garlic sauce for heat, swap white vinegar for rice vinegar for a milder tang, or stir in a splash of pineapple juice if you prefer a slightly fruitier, more classic takeout-style sauce.
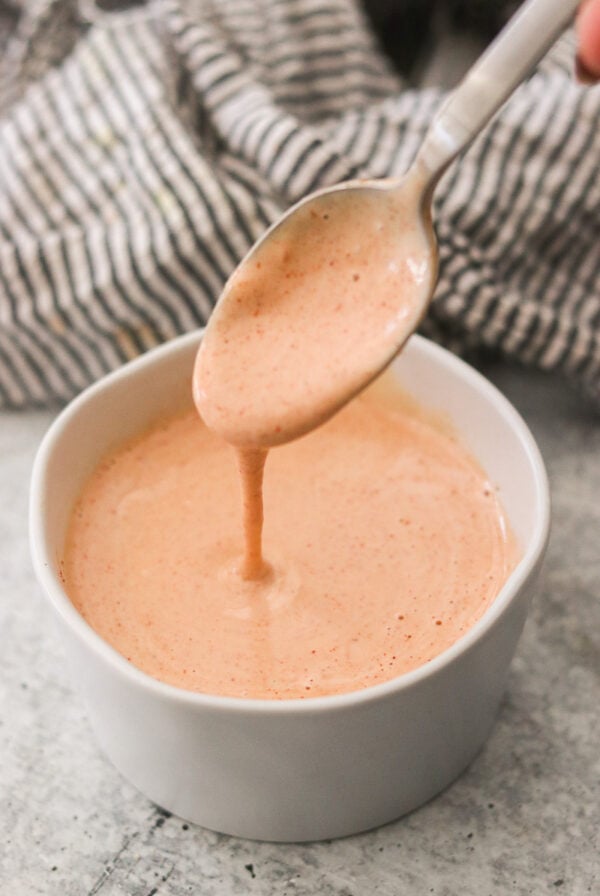
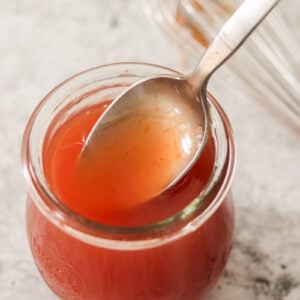
- For thickness control, keep in mind that the sauce continues to thicken as it cools. For a pourable sauce, remove it from the heat just before it reaches your ideal consistency. The finished sauce should be glossy and coat the back of a spoon without feeling gelatinous.
How to Store and Reheat
- To reheat, warm it gently on the stovetop or in the microwave and add a small splash of water to thin it back out. Stir or whisk well before serving.
- Store leftover sauce in an airtight container in the fridge for up to 2 weeks. The sauce will thicken as it chills, which is completely normal.

Recipe FAQs
Cornstarch is used to thicken the sauce once it reaches a boil. Whisking continuously creates a smooth, glossy texture without lumps.
Yes, this sauce has the same balanced sweet-and-tangy flavor and texture as classic takeout-style sweet and sour sauce.
Yes. This sauce stores well and reheats easily, making it ideal for meal prep or quick dinners later in the week.
It works well with chicken, pork, shrimp, tofu, and even roasted vegetables.
More Homemade Sauce Recipes

30 Minutes or Less
Paleo & Whole30 Ranch Dressing (Keto)

30 Minutes or Less
Whole30 Honey Mustard (Paleo, Vegan)

30 Minutes or Less
Homemade Paleo Ketchup + 9 Quick and Easy Ketchup Variations

30 Minutes or Less
Quick & Tangy Whole30 BBQ Sauce Recipe (Paleo, Vegan)
If you make this homemade sweet and sour sauce recipe, please leave me a star rating and comment below! I love to hear your thoughts and feedback. Follow me on social media Instagram, Facebook, and Pinterest for even more delicious recipes!
Homemade Sweet and Sour Sauce
Ingredients
- 2/3 cup water
- 1/2 cup sugar
- 1/3 cup vinegar
- 2 tbsp ketchup
- 2 tbsp cornstarch, + 2 tbsp water
Instructions
- Add water, sugar, vinegar, and ketchup in a small saucepan and heat over medium heat. Whisk until the sugar is melted.2/3 cup water, 1/2 cup sugar, 1/3 cup vinegar, 2 tbsp ketchup
- In a small bowl, whisk together cornstarch and 2 tbsp water.2 tbsp cornstarch
- Once the mixture in the pot starts to boil, slowly add the cornstarch slurry while whisking continuously. Whisk until the sauce is thickened to your liking.
- Remove from heat and serve.
Notes
- This sweet and sour sauce is incredibly versatile and works well beyond just one dish. Use it as a dipping sauce for appetizers, brush it over proteins like chicken or pork as a glaze, toss it into a quick stir fry, or use it as a simple marinade. It also pairs beautifully with savory dishes like kimchi pancakes, adding a touch of sweetness to balance the heat and umami.
- For easy customization, you can adjust the flavor to suit your meal. Add a pinch of red pepper flakes or chili garlic sauce for heat, swap white vinegar for rice vinegar for a milder tang, or stir in a splash of pineapple juice if you prefer a slightly fruitier, more classic takeout-style sauce.
- For thickness control, keep in mind that the sauce continues to thicken as it cools. For a pourable sauce, remove it from the heat just before it reaches your ideal consistency. The finished sauce should be glossy and coat the back of a spoon without feeling gelatinous.
How to Store and Reheat
- Store leftover sauce in an airtight container in the fridge for up to 2 weeks. The sauce will thicken as it chills, which is completely normal.
- To reheat, warm it gently on the stovetop or in the microwave and add a small splash of water to thin it back out. Stir or whisk well before serving.
Nutrition
Nutrition information is automatically calculated, so should only be used as an approximation.